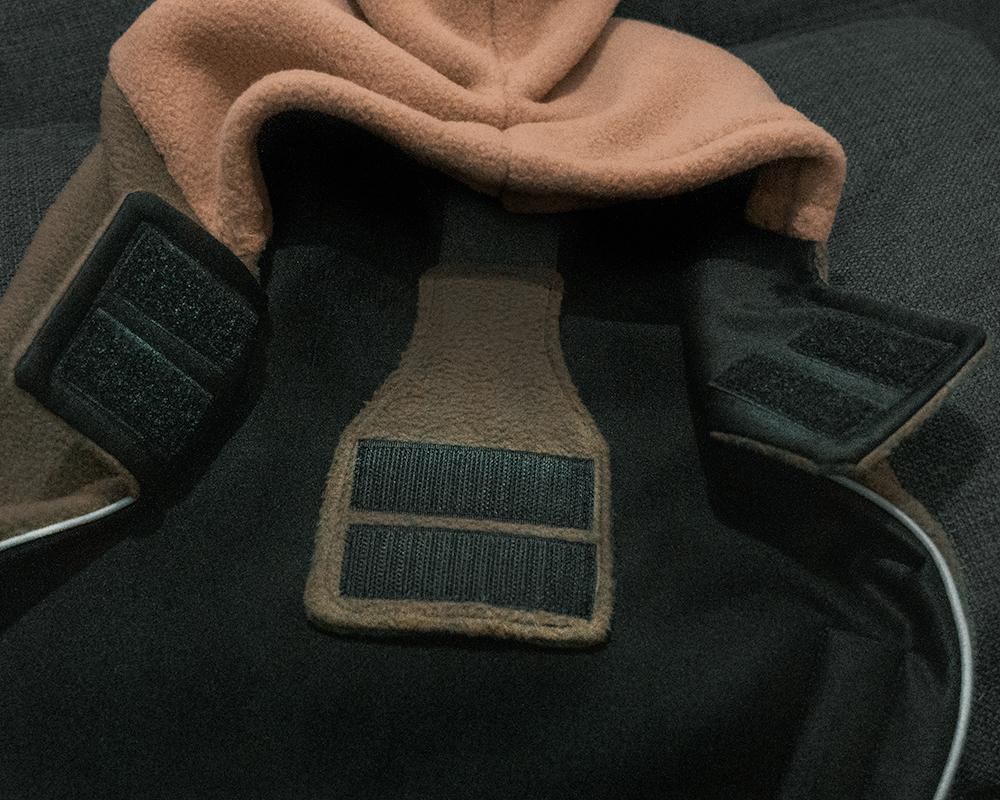
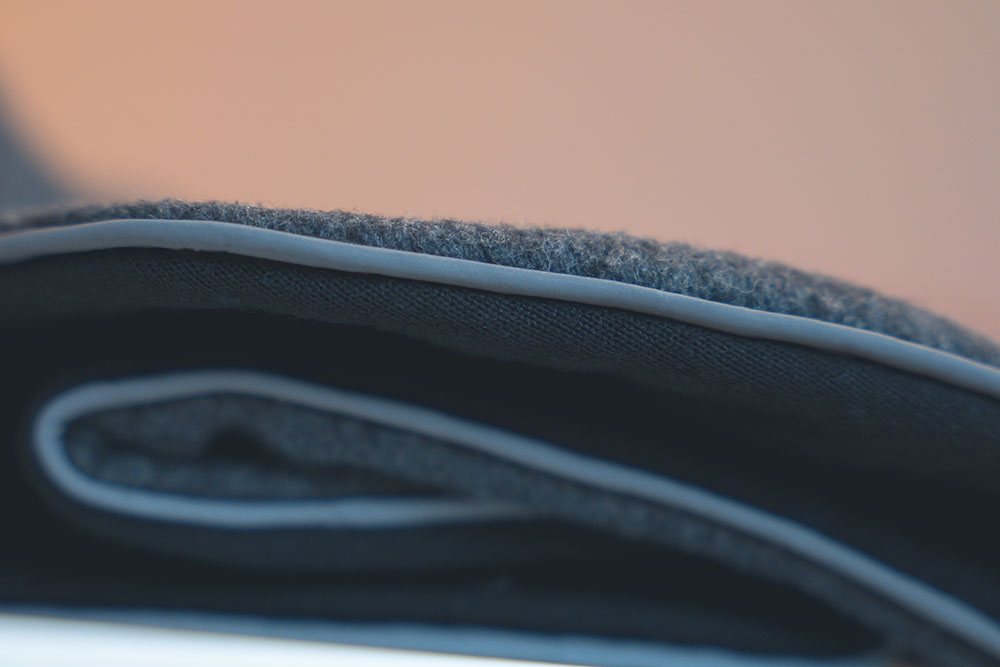
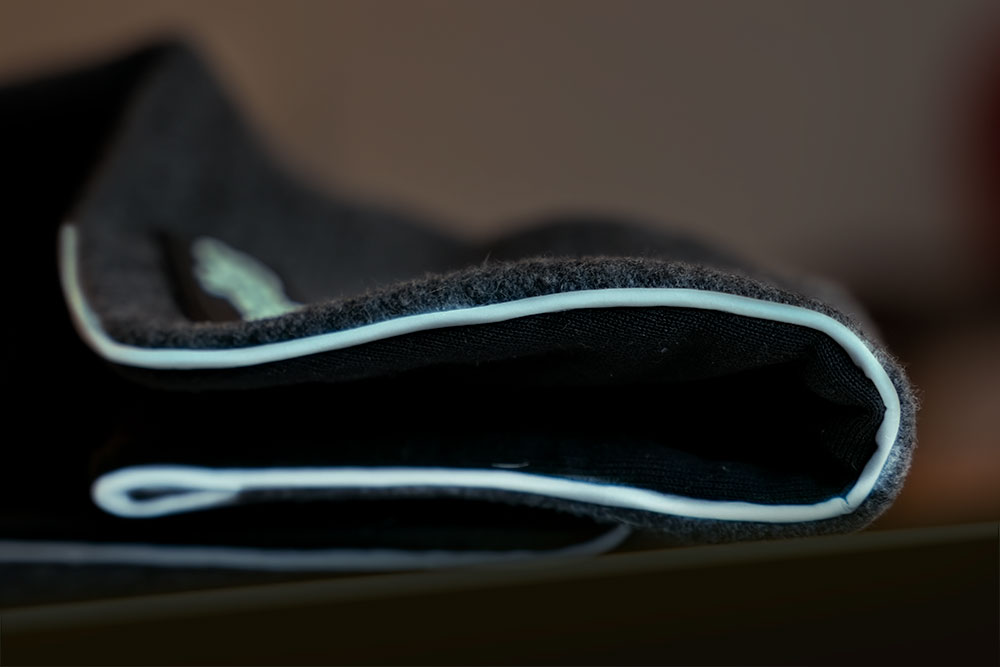
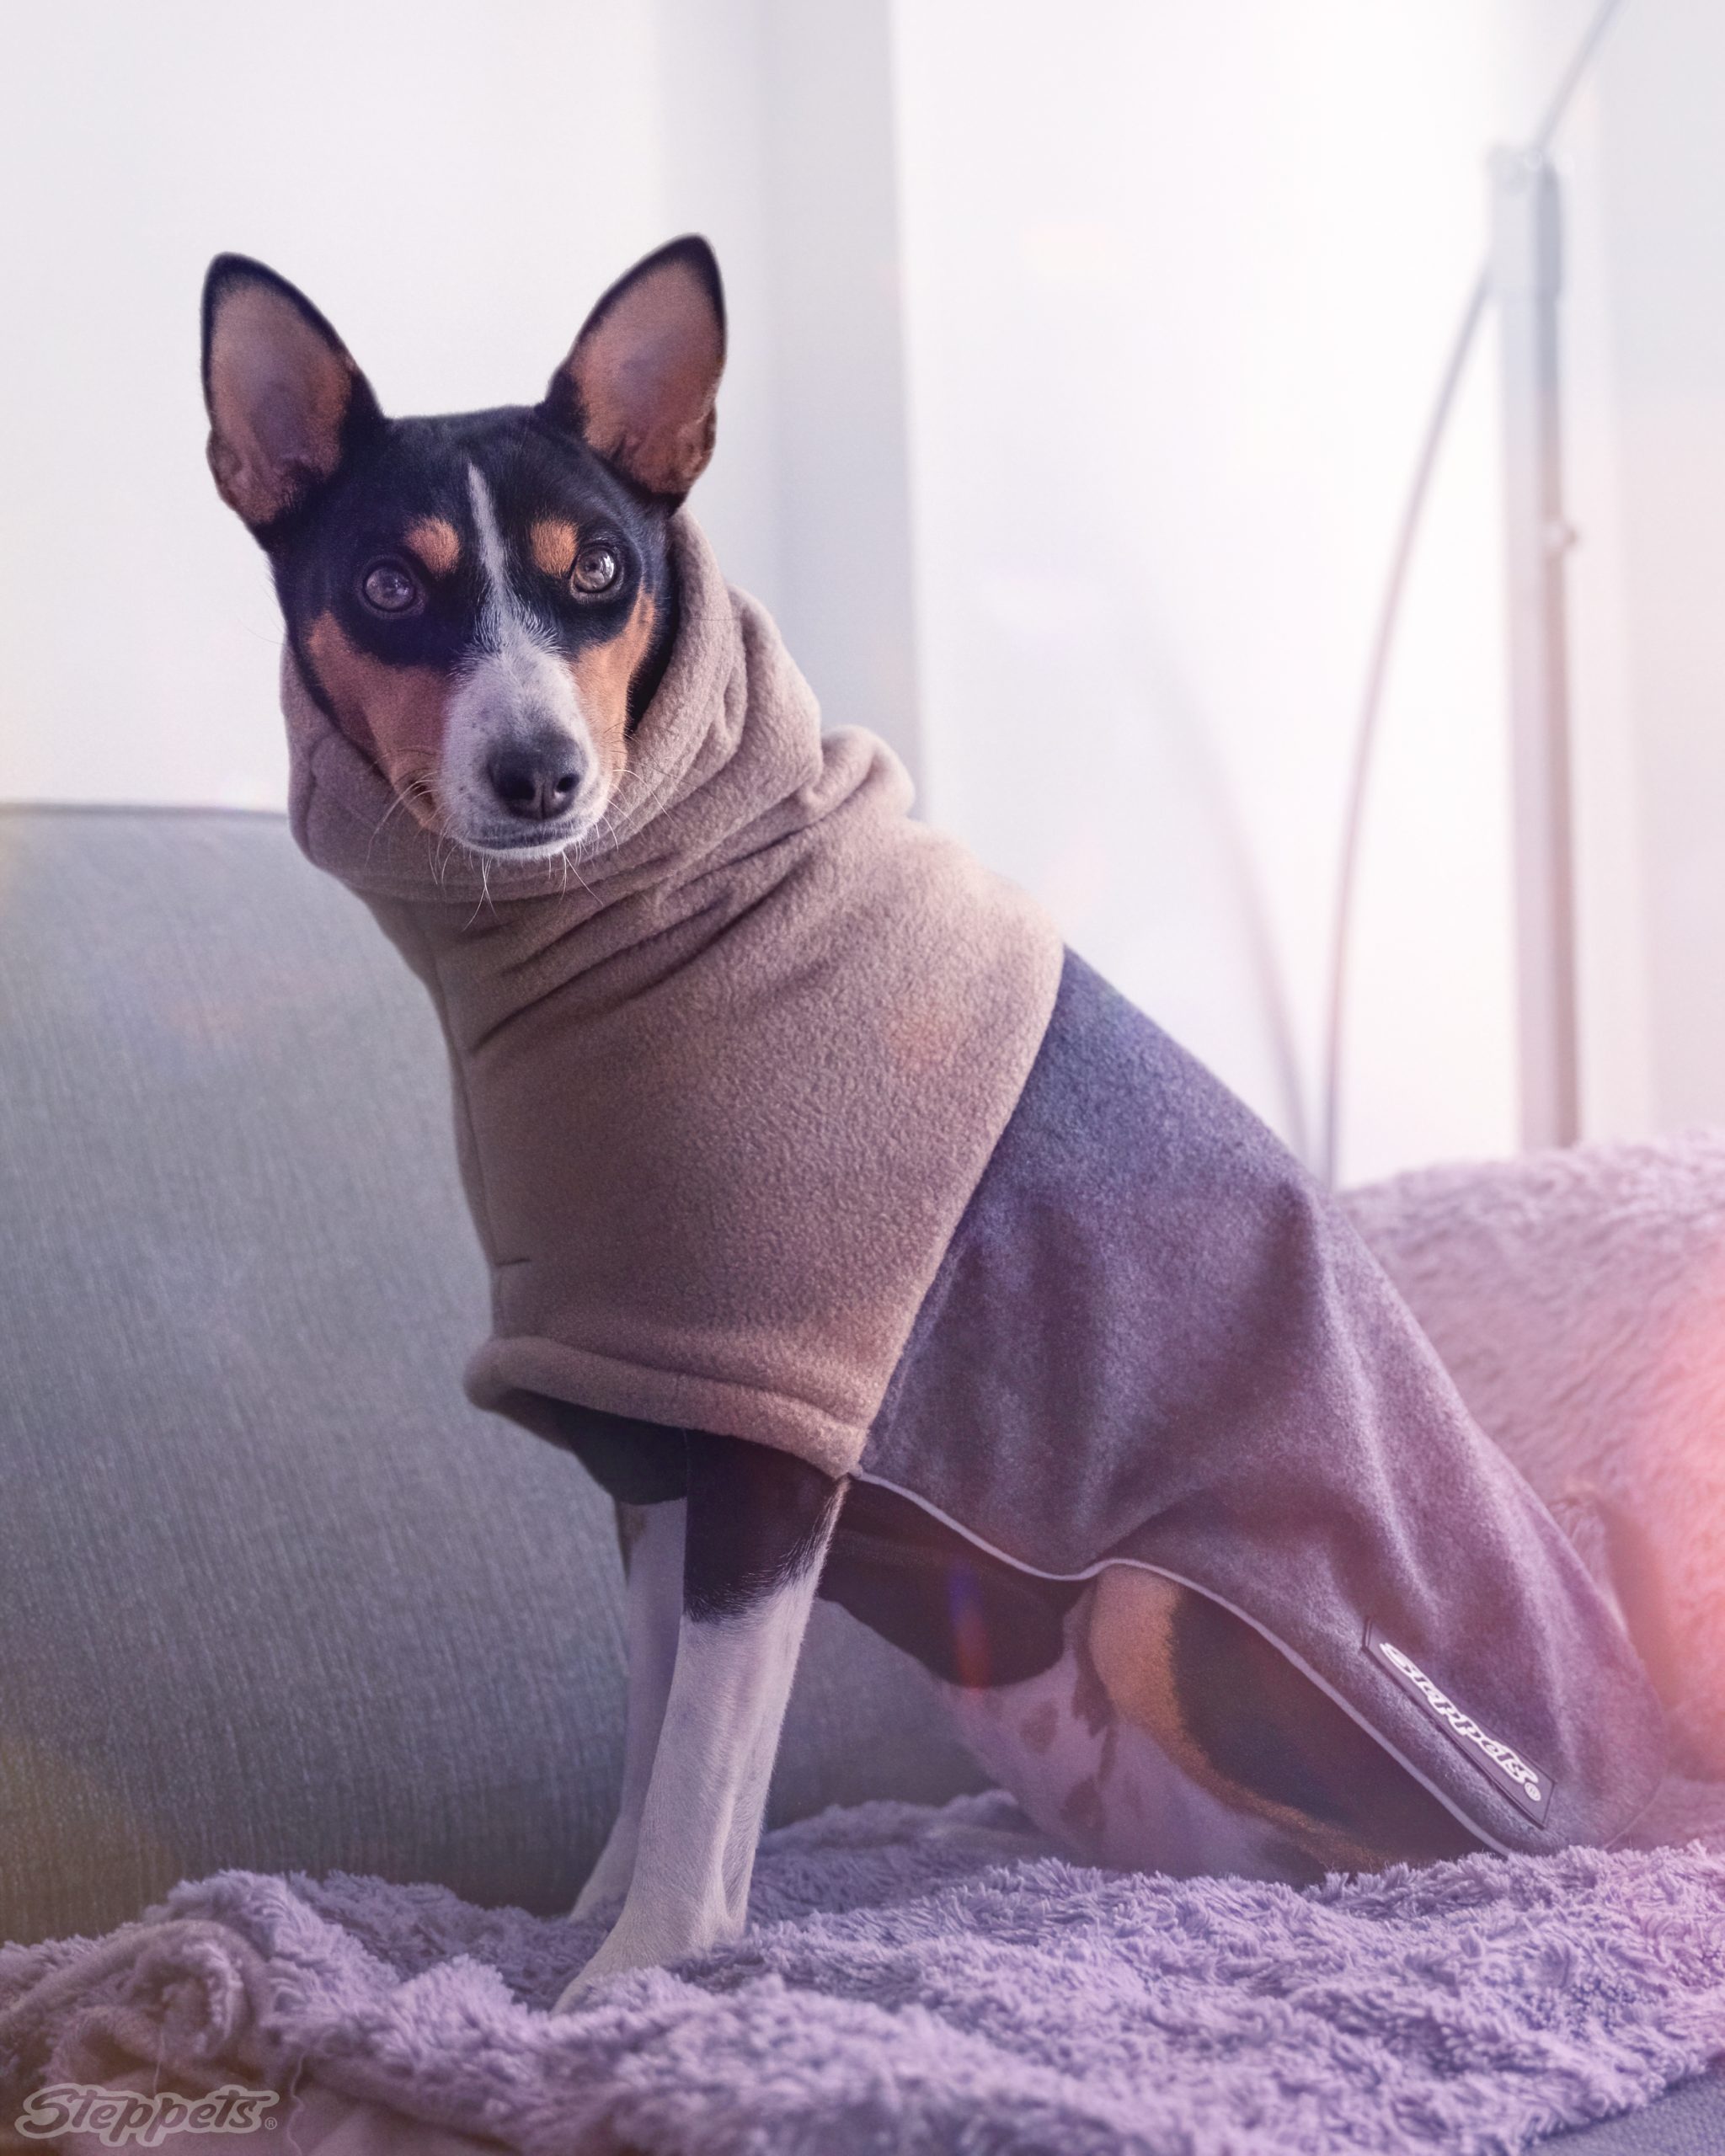
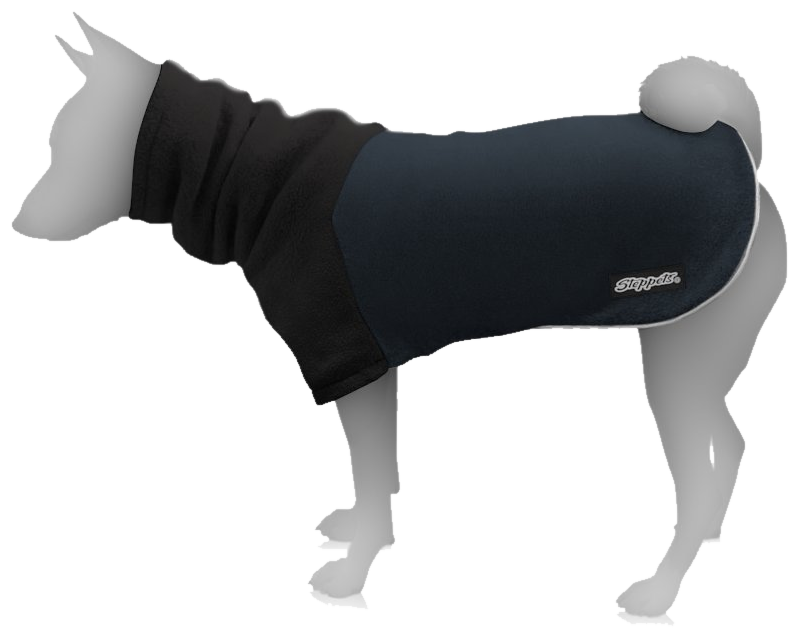
Keep your companion warm with the Griffin Custom Winter Dog Coat! Thoughtfully designed for warmth, full range of motion, and comfort. Customize your coat, made to measure for the perfect fit!
Designed for 5°C/41°F to -20°C/-4°F.
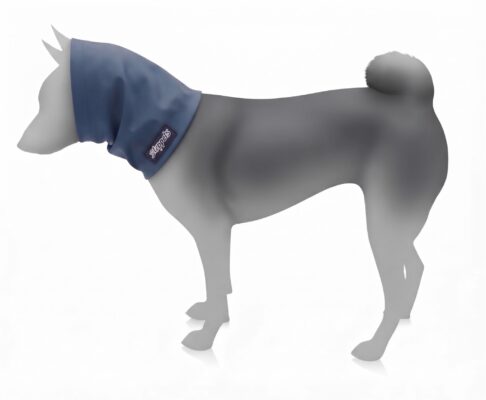
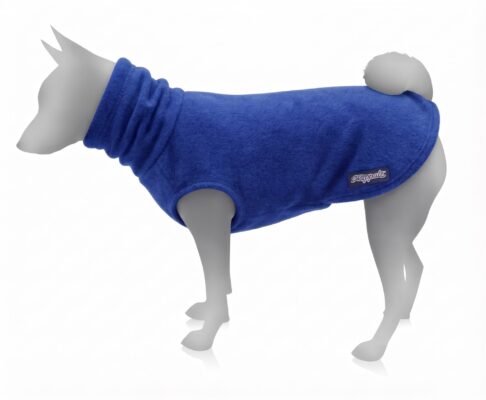
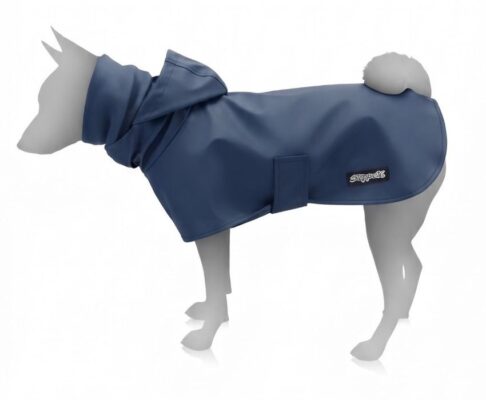
Complete the layering system
The Griffin system layers: wear each piece on its own, or stack them for the coldest days. Every piece is made to the same dog’s measurements.
Only logged in customers who have purchased this product may write a review.
Measure your dog
A side photo plus five tape measurements — they fill in the Griffin configuration for you.
PatternMade · Griffin Coat
A coat pattern, made for your dog.
Measuring is free. Enter five measurements once, then choose the pattern, a precut kit, or a finished Griffin made to those measurements.
Already have a Steppets account?
Load a dog saved on this device, or start fresh. Measuring is always free.
Saved on this device only — no password or cross-device sign-in yet. Signed in to steppets.ca instead? Your store dogs are in Step 1 under “My dogs”.
Save your dog’s measurements
Create a free account so this dog is here next time. Optional — skipping changes nothing about pricing or buying.
Email only — no password. Your account and measurements are saved on this device; your email and opt-in choice are included on the order sheet for Steppets’ mailing list.
Your dog
Name your dog and choose the fabrics. Fit comes from the five measurements in Step 3 — there are no preset sizes.
Fabrics
Colours
Pick the neck and body colours — the preview updates instantly. Colours come from the same MeasureMade colour library as the Griffin product page.
Colour preview loads from the Steppets colour library.
Neck colour
Body colour
My dogs
Signed in to your Steppets account — load a saved dog, or save this one. Loading a dog never unlocks the pattern.
Take a side photo
Dog standing side-on, head up. Place a card flat on the floor beside them.
Camera off — start the camera or upload a photo
Guide faces left — flip it if your dog faces right
Checking this photo on your device — the first check may take a moment while the detection model downloads…
Tip: Use bright, even light and keep the card flat beside your dog. Photos stay in this tab; the guide is only a framing aid and is not part of the checked image.
Confirm measurements
Calibrate the photo if you used one, then confirm all five measurements with a tape.
No photo has been checked yet and no measurements have been entered. The fields below start blank — go back to Step 2 to take a photo, or enter your tape numbers here.
Dog faces:
Calibrate — drag across the long edge of the card.
2 · The five measurements
If a card was found in your photo, the five numbers below are filled from it — check each one against your tape and adjust anything that looks off before continuing. Otherwise, enter your tape numbers.
Finishing
Seam allowance: 1 cm — fixed, added around every piece
UnitsExports are always in cm.
Pattern locked
Your pattern unlocks after payment in Step 5.
Payment unlocks: the 1:1 sheet for Pieces A, B and C at this dog’s measurements, the pattern SVG, Seamly2D .vit, tiled print and sewing guide.
Your pattern is ready
Print at 100% and check the 5 cm test square before cutting.
Payment confirmed for this session — your pattern is unlocked below.
Materials
Tiled print
20 mm overlap. Match the + crosses and tile numbers.
How to sew it
Prepare the sheet. Print at 100% — do not scale, do not use “fit to page”. Join tiled pages on the registration crosses and check the test square measures exactly 5.0 cm. The dashed line is the stitch line — the Seamly2D template outline itself. The solid line is the cutting line: stitch line plus the fixed 1 cm seam allowance (SA). Note the Seamly2D file has SA off — add it there if you cut from Seamly2D. On Pieces A and B, the chain-dashed line just inside the long straight bottom edge is the FOLD — centre back.
Cut. Piece A Body Section — cut 1 in wool, placing the long straight edge A35–A2 on the fold of the fabric. Piece B Neck Section — cut 1 in fleece, placing the long straight edge A10–A on the fold. Piece C Strap — cut 1 in wool (not on the fold). Transfer the Seamly point names, the vertical grainline (rotation 90, as in the file) and the centre of each piece to the fabric with tailor’s chalk or a tracing wheel.
Staystitch. Staystitch just inside the stitch line along the shaped curves — the body curve A5–A6 on Piece A and the strap curves A22–A33 and A32–A25 on Piece C — fleece stretches and wool frays.
Join neck to body. Join the neck section’s right edge (A–A13–A17) to the body section’s left edge (A35–A34–A36), right sides together, matching J to J (neck A to body A35 — the centre-back ends of the join) and K to K (neck A13 to body A34 — mid-join). Pin from J outward through K toward A17 / A36, ease to fit, stitch on the dashed stitch line, and press the seam toward the body section.
Make the strap (Piece C). Piece C is drafted from body points A22–A25. Finish its two curved edges (A22–A33 and A32–A25) and both short ends. Leave the fastening unfitted until the fitting in step 7.
Register the strap. Lay Piece C on Piece A with its A22 corner at point A22 on the body piece — the shared drafting point. Stitch that end down at A22 within the seam allowance, wrap the strap under the chest, and baste the free end at the position it naturally reaches; the final fastening position is set at the fitting.
Fit on the dog. Slip Piece B over the head, settle the join over the shoulders with point A centred on the spine line, wrap Piece C under the chest over the widest ribs, and mark the fastening overlap. Two fingers must fit under the neck section and under the closed strap.
Hem and finish. Turn the free edges of Piece B (neck opening) and the rear and side edges of Piece A on the stitch line and stitch. Bind or clean-finish the side (leg) edges. If a leash portal is required, work it at the centre-back of Piece B and bartack both ends.
Final check. Dog standing, walking and sitting: coat centred on the spine line, join sitting level over the shoulders, strap flat under the chest and registered at A22, not twisted.
Fit adjustments
Coat rides back — check Piece C is over the widest ribs and re-mark its fastening. Coat twists — strap ends aren’t level: re-pin at equal height, registered at A22. Neck gapes — re-check neck over the fur; fleece relaxes in wear. For fit changes, adjust the five measurements in Step 3 — don’t alter outlines freehand.
Get this Griffin
Measuring is free. Every price below is calculated from your dog’s five measurements.
—
1 · Choose how you want it
2 · Warmth build
3 · Extras
Price for this dog
—
4 · Add to cart & pay through Steppets
Your pattern sheet is locked
Add your choice to the Steppets cart and check out, then confirm here. Pattern Pass and DIY Kit unlock the pattern in Step 4; a made-for-you order does not include the pattern file — Steppets sews that coat.
Steppets verifies the order before fulfilling it.
Payment confirmed for this session — pattern unlocked. Your 1:1 pattern sheet, sewing pattern, tiled print and sewing guide are now visible in Step 4.
The order sheet includes the five measurements, your choices and the total above.

 PatternMade
7 reviews for Griffin – Custom Winter Dog Coat